


This is some info on repairs and maintenance work on my Volvo 240 GL (1990, B200E engine). Under development.
In-Tank Fuel Pump
Engine Front Seals
Injector seals replacement
Clutch repair
Auxilary air valve repair
Windsreen wiper motor repair
In-Tank Fuel Pump
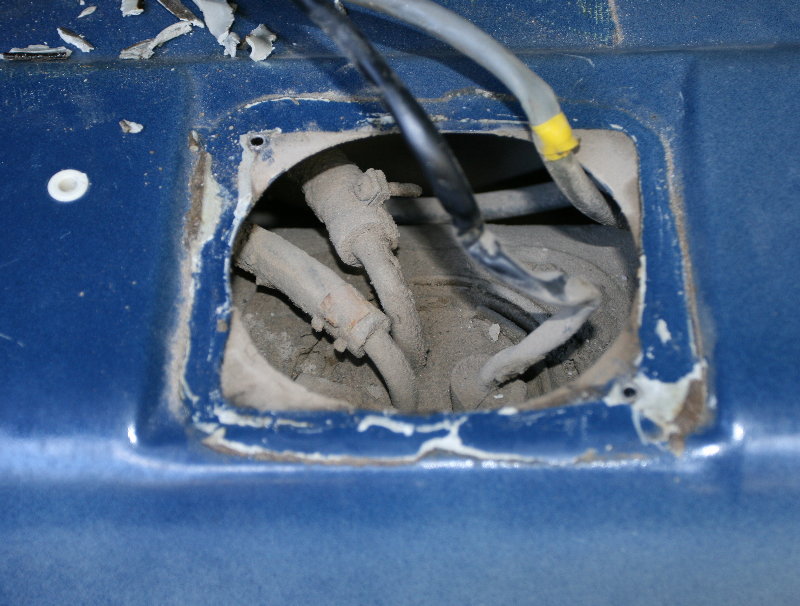
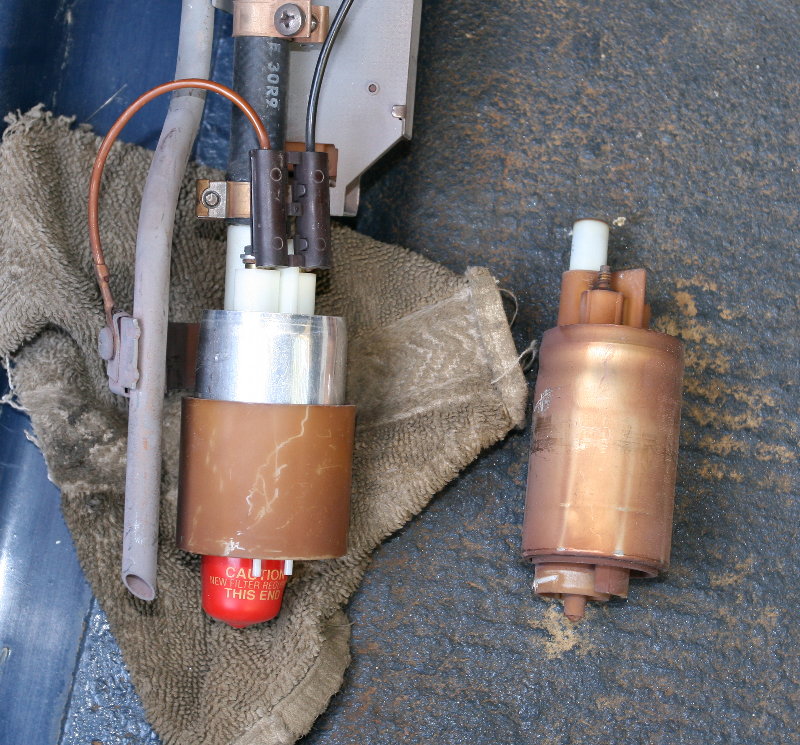
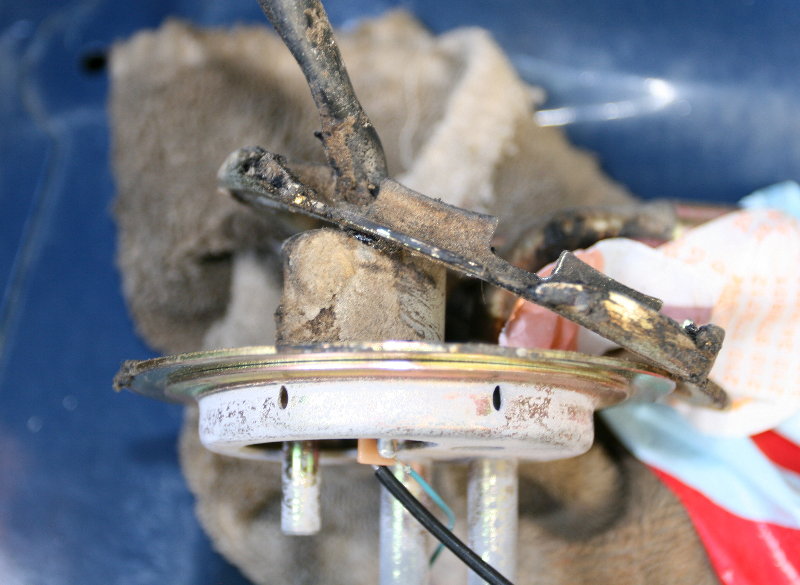
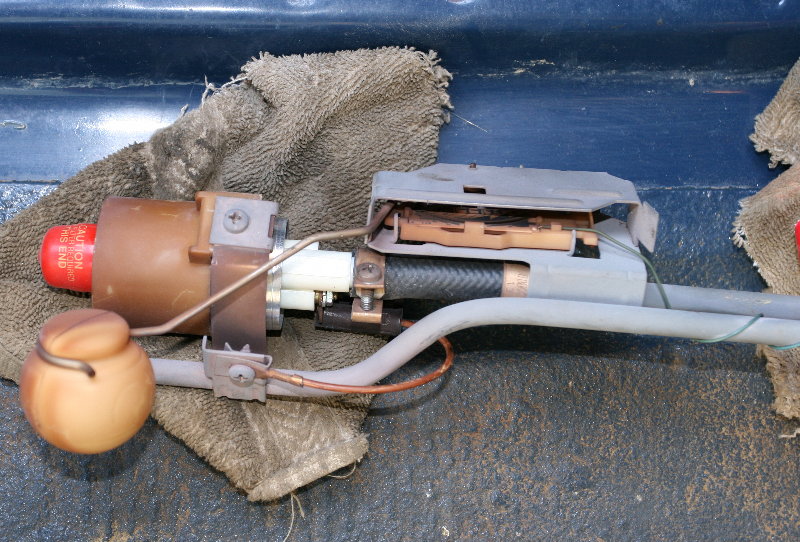
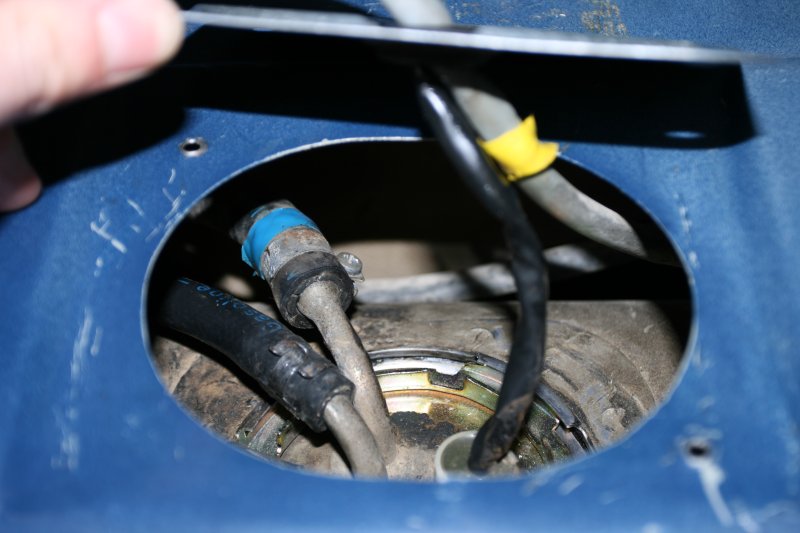
On most 240s there are two fuel pumps. A larger pump and a smaller pump which is located inside the fuel-tank itself. This repair was the replacement of the in-tank fuel pump.The pump is accessible from a cover inside the boot. Removing the cover, you see the following, which is actually the access opening to the fuel pump inside the tank. Two fuel lines are connected, one supply and one return.
Engine Front Seals
This repair was the replacement of the engine front seals. There are also seals at the back of the engine, but I only replaced the front ones in this repair.There are three seals at the front of the engine, one for each of the shafts coming out of the front. The three shafts are namely (from the top) the shaft for providing motion to the valves, the intermediate shaft which is coupled to the distributor shaft and the main drive shaft at the bottom. The function of each seal is to provide a barrier between the inside of the engine and the outside environment. This means keeping dirt, water, etc. out of the engine and keeping the engine oil inside.
At the time of the repair all three of the seals were leaking. Telltale signs of these seals leaking is oil in the plastic tray which protects the underside of the engine bay.
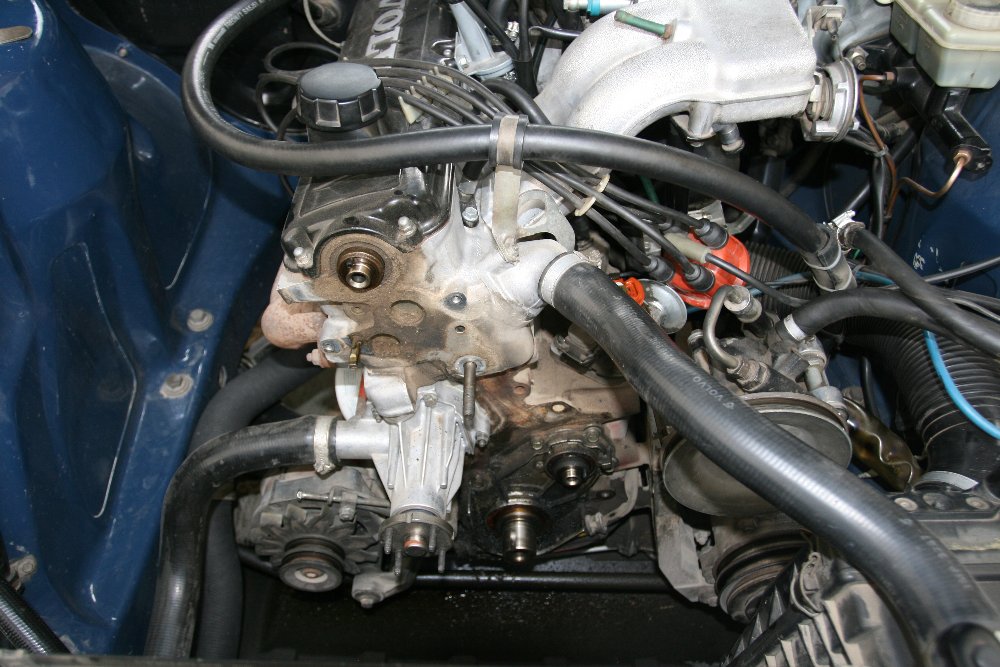
Below is the engine with the old seals still in. The fan, the toothed pulleys on the three axles, and the plastic backing plate have been removed. A lot of yuk is visible, due to the mixing of leaking oil and dirt.
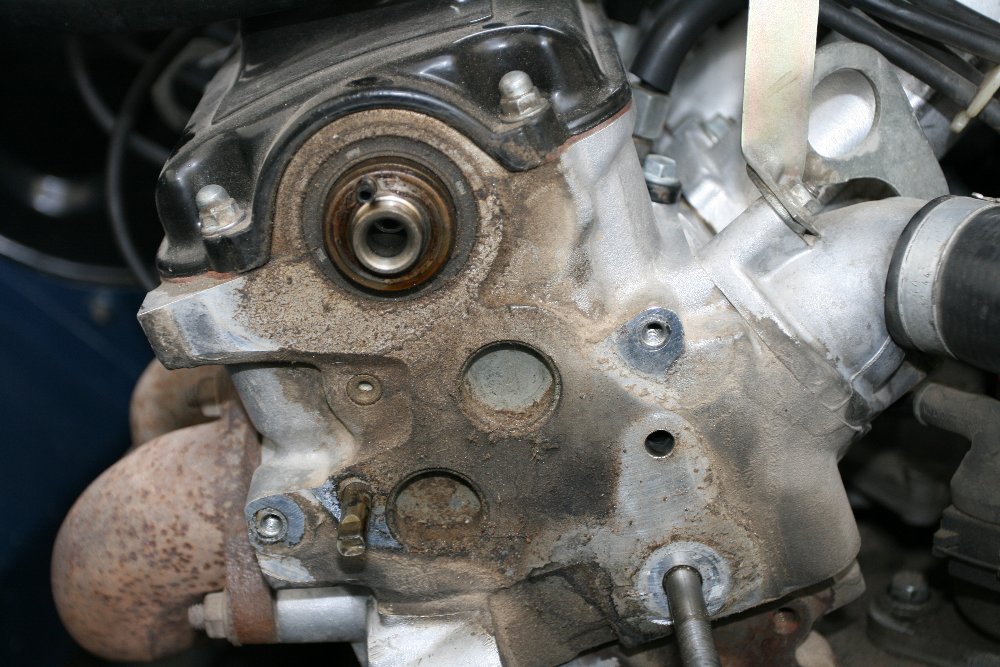
Close-up of a very mucky crankshaft and head...
And a nice clean shiny one...
The cleaned-up engine. And now the new seals are in. The head of the B200E is aluminium so it really cleans up well. The bottom-end is iron, so there's some light corrosion, but really very limited.
The engine with a lot of important parts reattached... Considering the effort required to change the seals, it's a good idea to change the timing belt as well. I also took the opportunity to change the plastic casing (front and back) of the timing belt. Over time, the covers tend to deform and can rub against the fan pulley.

Injector seals replacement
After 19 years, I'm not sure these seals had ever been replaced. The seals go hard after time and create air leaks in the engine.On the injectors in this car there are two seals, a larger diameter thin seal and a smaller diameter thicker seal. While the thinner seals were quite easily replaced, the thicker ones appear to be very well set and I still have not been able to remove them.
Clutch Repair
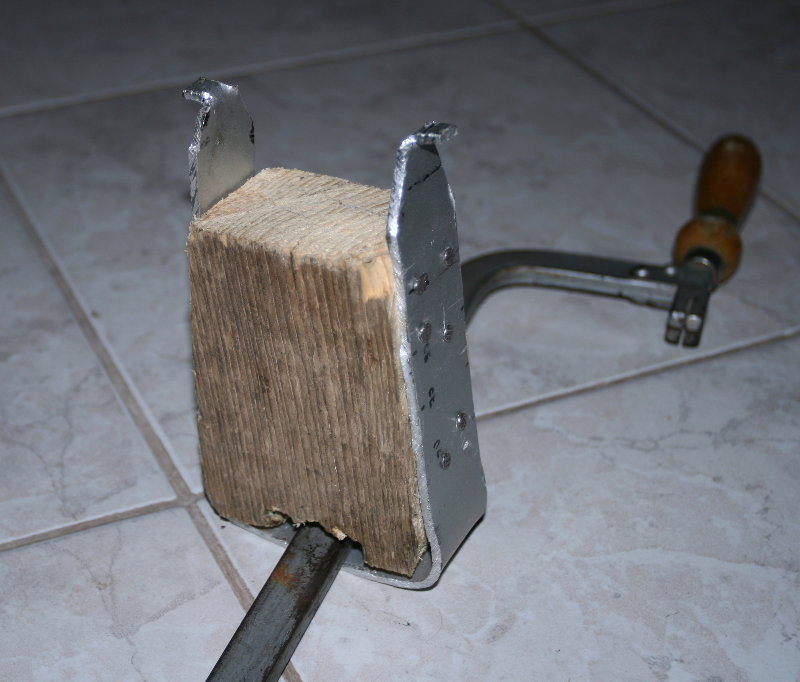
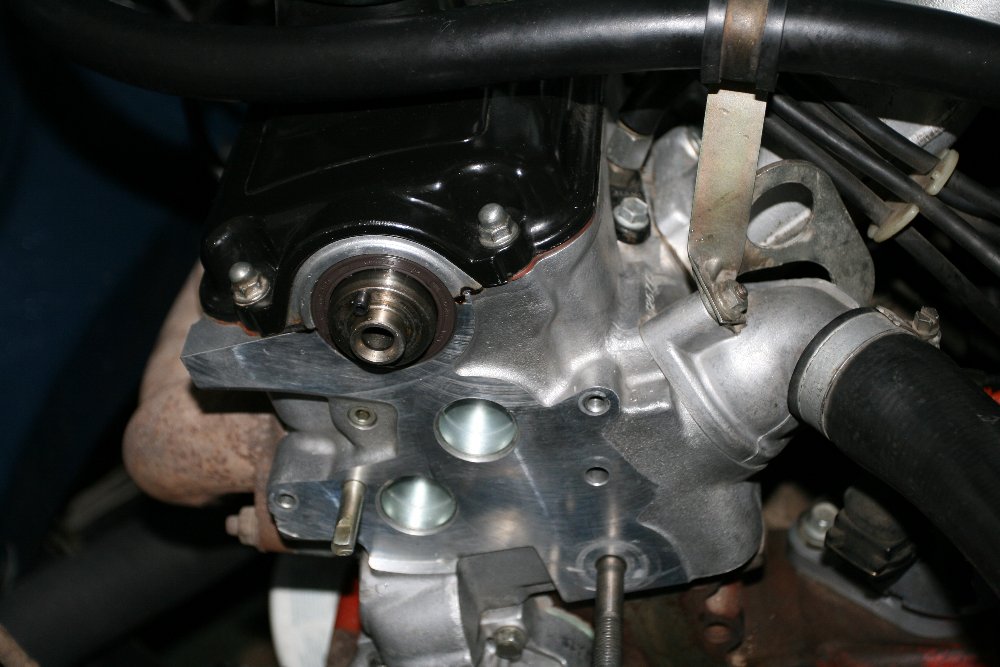
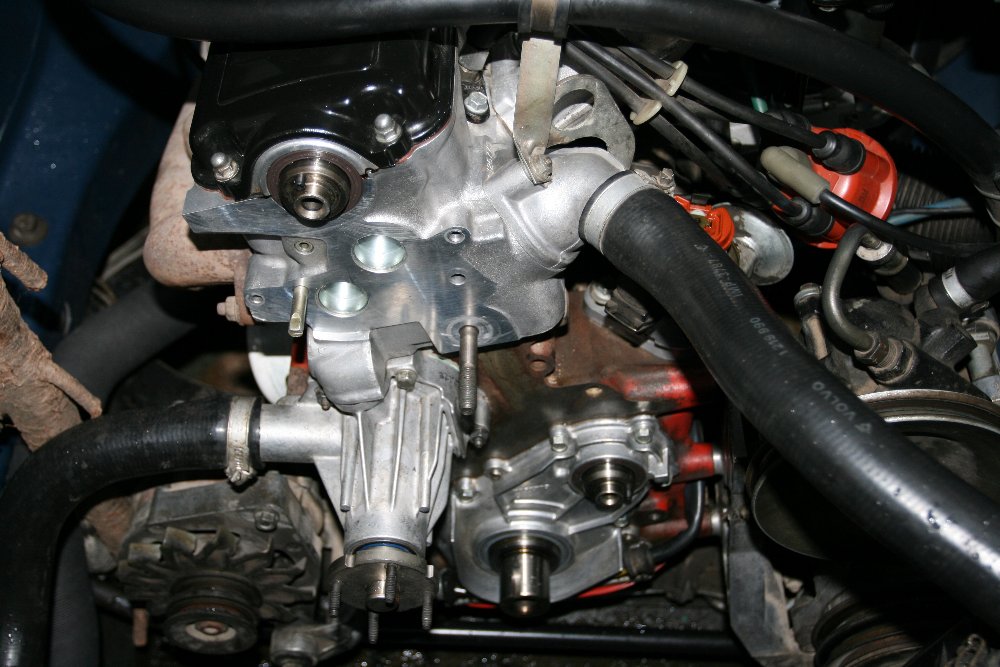
There were three main symptoms of the clutch going. First, a sqeaking noise on engaging a new gear, second a very stiff clutch pedal and thirdly a great deal of difficulty in engaging first gear when stationary.Changing the clutch plate, pressure plate and bearing solved the first two problems completely, and greatly improved the third. This job was done at a local garage. The replacment parts were made by SACHS, who also makes the OEM parts. Below, there are some pictures of the original used parts.
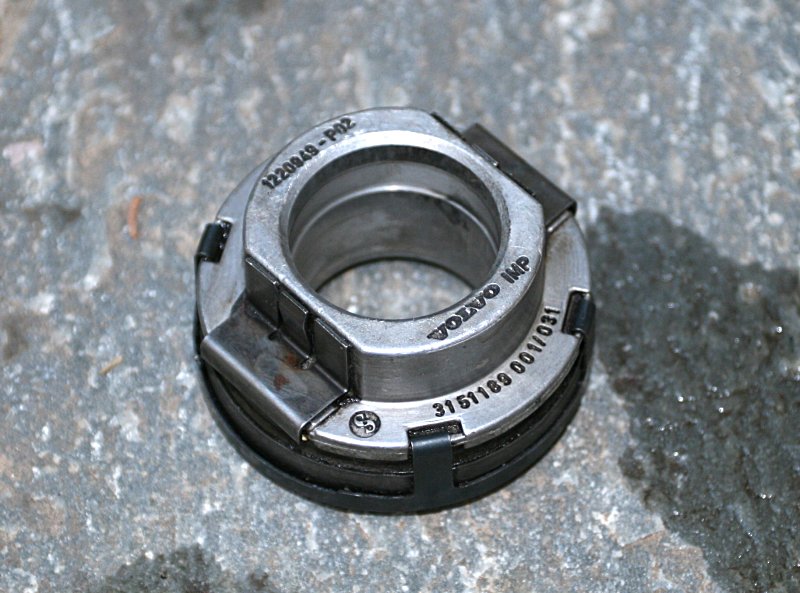
The bearing:
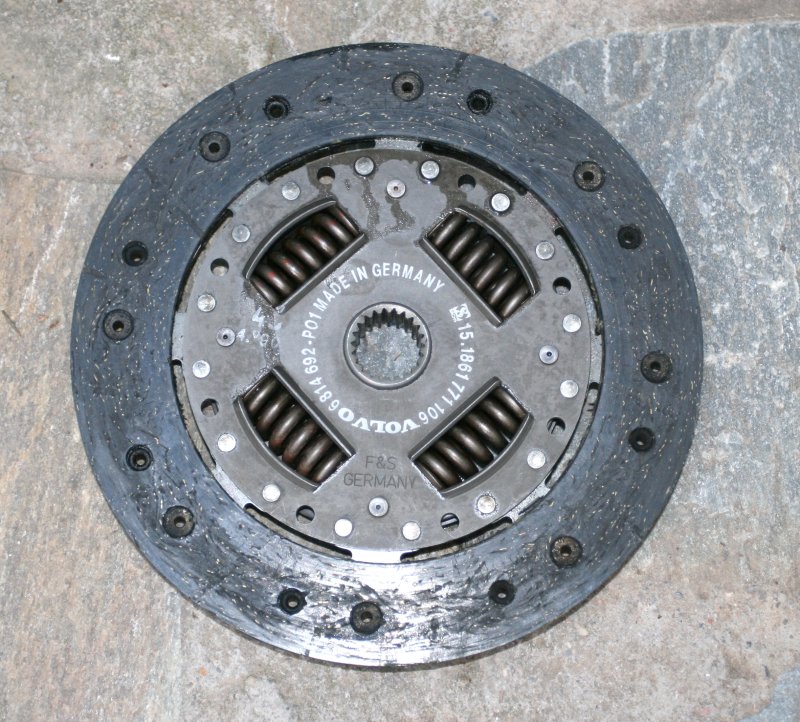
The pressure plate. You can see the VOLVO and SACHS brand names.

The friction plate. The friction material was almost down to the rivets.
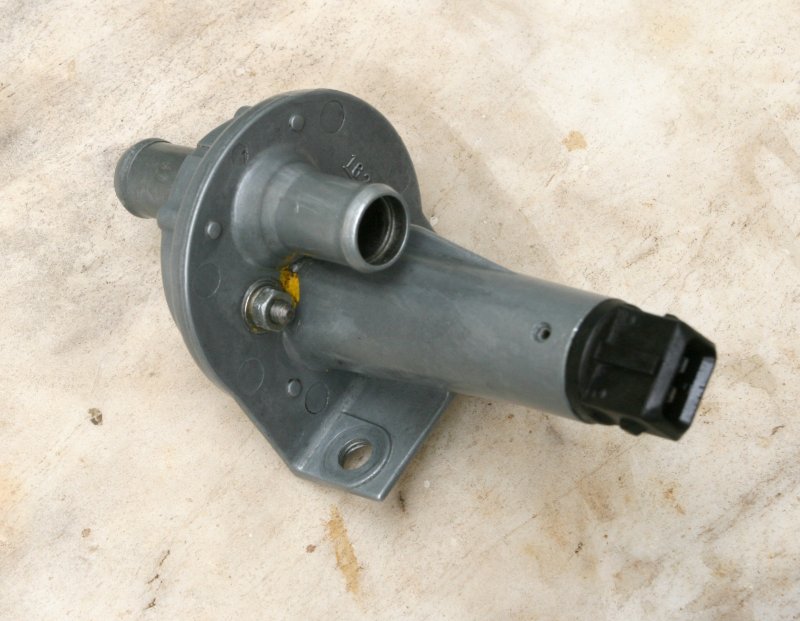
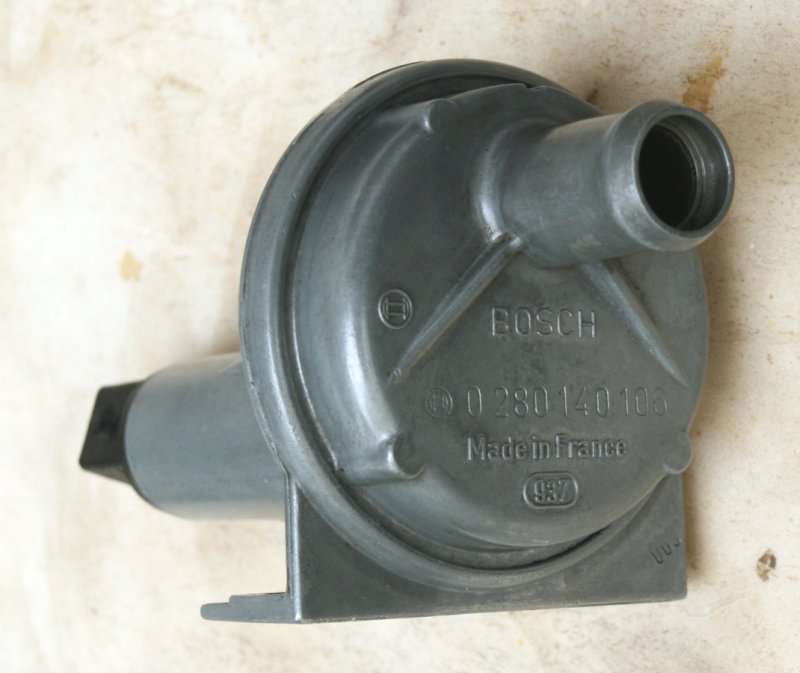
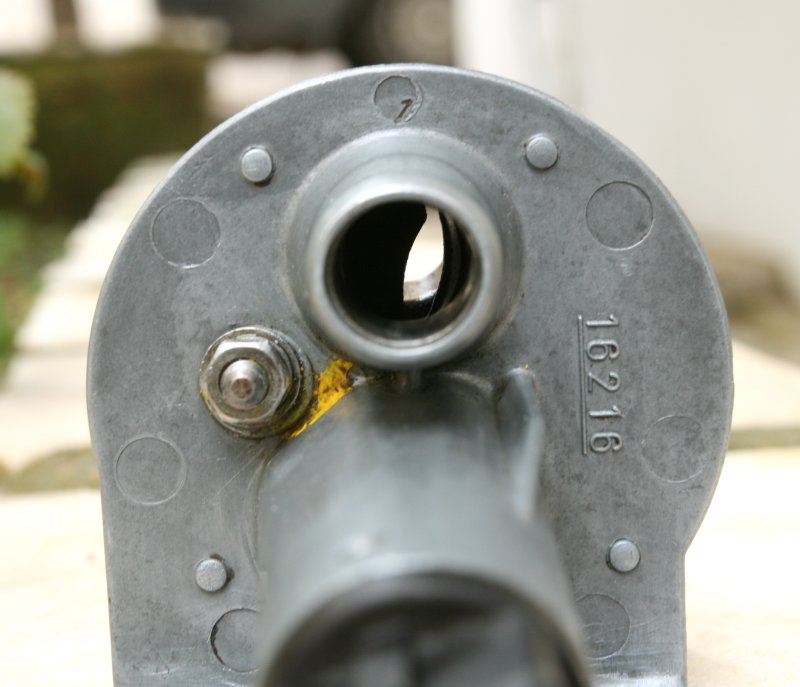
Auxilary Air Valve Repair
Windsreen wiper motor repair
This repair was done after the magnets inside the electric wiper motor became unstuch from the inside of the motor casing. The repair consisted of removing the motor and resticking the magnets.The symptoms of this problem were very noisy wipers that either worked very slowly or not at all.
Removal of the wiper motor:
1. Find the motor. Under the bonnet, it is situated on the left hand side of the bulkhead, when facing the engine.
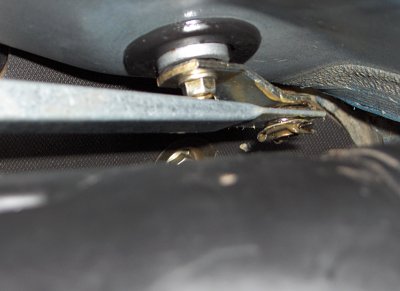
2. Remove the glovebox. You can just see where the wiper mechanism comes through the bulhead in the photo.
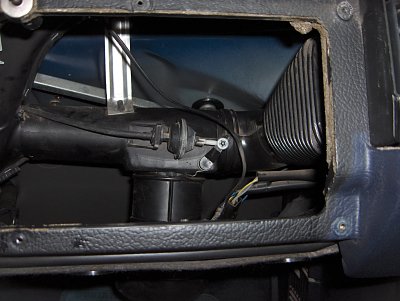
3. In the next photo, it's more clear to see where the mechanism enters. On the other side of the bolt, the mechanism axle attaches to the wiper motor. Now's a good chance to apply a good bit of grease to the joint.
4. Undo the bolt and remove the motor, by also removing the bolts that hold the motor to the bulkhead.
5. Once the motor is out, remove the end of the motor casing by removing the two long bolts. Clean any visible rust and apply grease to the casing cap and the bolts.
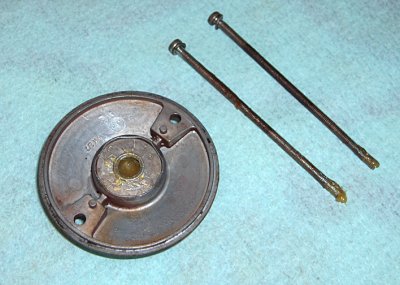
6. Clean all visible rust, use epoxy glue to reglue the magnets and reinstall the motor.